HomeGuidesStarfield
Starfield Revelation walkthroughHere’s how to successfully work your way through epic battles to complete the artifact collection in Revelation
Here’s how to successfully work your way through epic battles to complete the artifact collection in Revelation
Image credit:Rock Paper Shotgun/Bethesda Game Studios
Image credit:Rock Paper Shotgun/Bethesda Game Studios
How can you retrieve the final artifacts and complete your collection in the Revelation mission?Revelation marks the penultimateStarfieldmain mission and goodness, it’s a doozy. There’s layer upon layer of Starborn battles as you take on waves of enemies before reaching a final showdown with the Emissary or the Hunter.
If we’ve not made it clear enough, there’s a lot of fighting in Revelation, so make sure you’re stocked with thebest weaponsyou can acquire, spend yourskill pointswisely (hint, Persuasion), and learnhow to disable turrets.
To see this content please enable targeting cookies.Manage cookie settingsWas Starfield worth the wait? Liam and Alice B discuss this question - and more - in the video above.Watch on YouTube
To see this content please enable targeting cookies.Manage cookie settings
To see this content please enable targeting cookies.Manage cookie settings
Starfield Revelation walkthrough
To complete theRevelationmission, you’ll want to complete the following objectives:
There’s a lot to get through, but our detailed steps below will guide the way through epic Starborn fights, Guardian takedowns, and the final face-to-face with the Hunter or the Emissary. Keep reading!
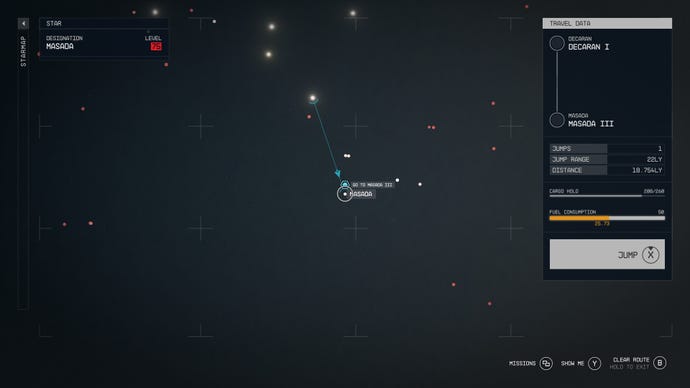
1. Go to Masada III
Image credit:Rock Paper Shotgun/Bethesda Game Studios
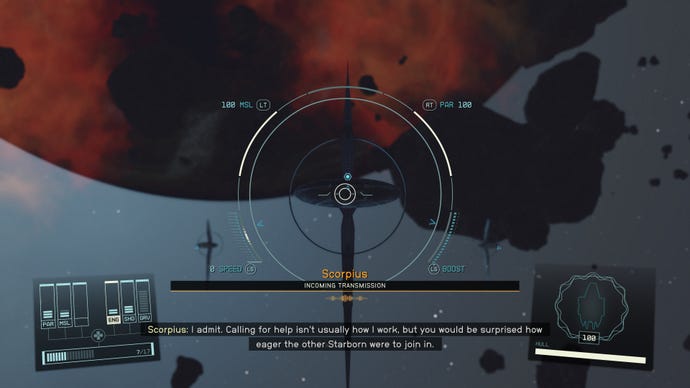
2. Hail the Scorpius or the Helix
Image credit:Rock Paper Shotgun/Bethesda Game Studios
The decision you made at the end of theUnearthedmission will influence who you meet in the orbit of Masada III.
Depending on who you chose, they’ll side with you for the battles that lay ahead. If you chose neither, you’re going to have to take everyone on on your own. It all starts with a space battle.
3. Defeat the Starborn ships
At least twoStarborn shipswill join the Hunter and/or the Emissary in orbit and you’ll need to defeat them. You may need to upgrade your ship and return, stock up on ship parts to complete important repairs during battle, or obtain a better ship entirely.
Upgrading and purchasing a new ship can be done via a Ship Services Technician, found at space ports on planets such as New Atlantis and Akila City, which is where you can alsoobtain ship parts.
To obtain a better ship without spending any credits, there’s the Mantis side mission where you will be rewarded a legendary spacesuit and ship, Razorleaf.
If you focus on defeating the lesser, but still deadly, Starborn ships fighting alongside the Hunter and/or the Emissary, upon defeat the bigger ship(s) will retreat and land at Masada III where you will meet them later.
4. Land at the Buried Temple
Image credit:Rock Paper Shotgun/Bethesda Game Studios
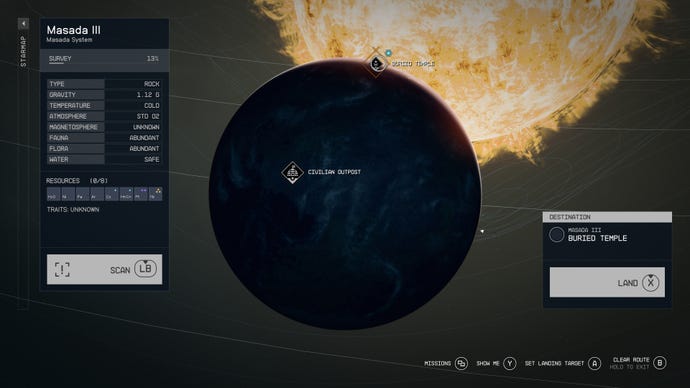
With the Starborn ships destroyed, you are free now to land at theBuried Templeon Masada III to continue with the rest of the mission.
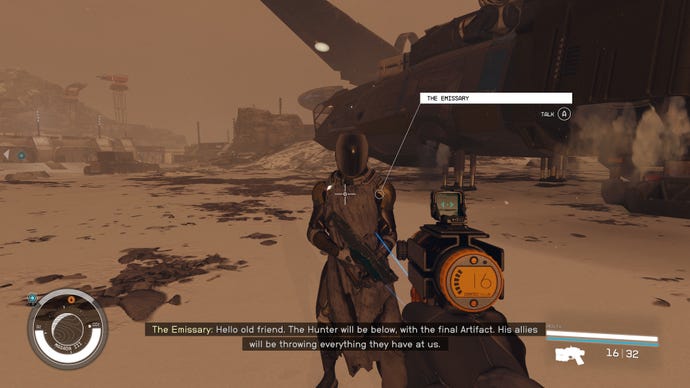
5. Talk to the Emissary or the Hunter
Image credit:Rock Paper Shotgun/Bethesda Game Studios
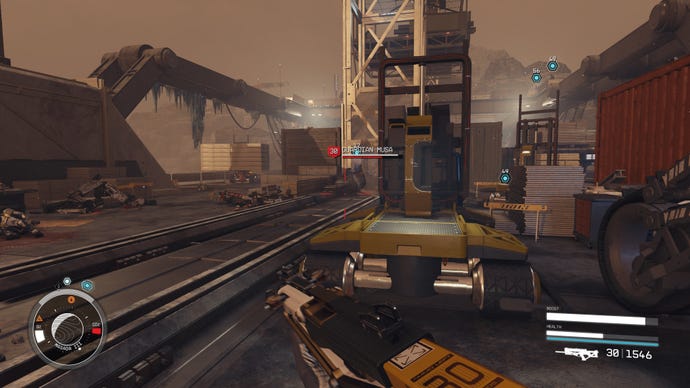
6. Defeat Guardian Musa
Image credit:Rock Paper Shotgun/Bethesda Game Studios
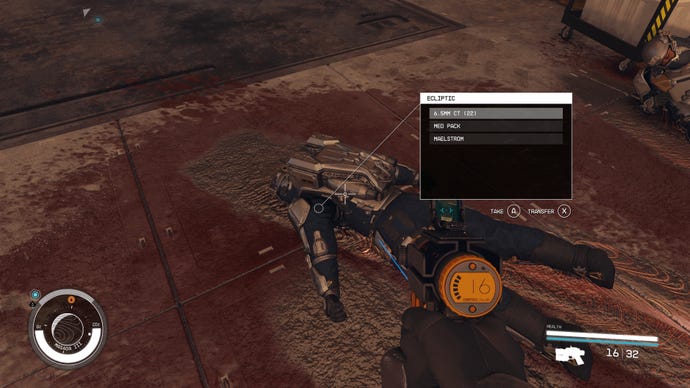
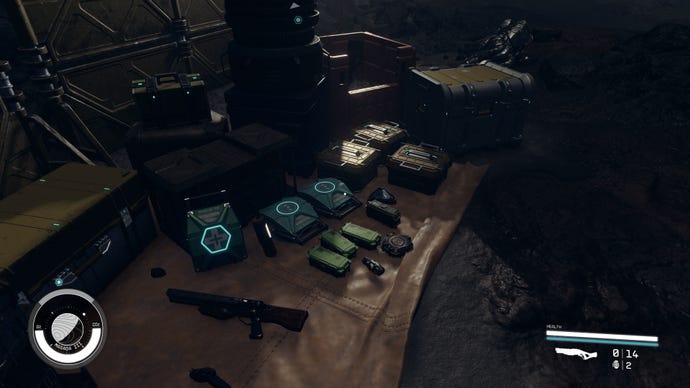
Follow the blue locator towards the Buried Temple. You’ll pass a lot of ecliptic bodies on the way, whichyou should definitely lootto acquire ammo, weapons, aid, and more useful items.
When you reach the buried temple, the StarbornGuardian Musawill appear. His special ability is to duplicate himself, so not only will you be fighting Guardian Musa but all his clones too.
Image credit:Rock Paper Shotgun/Bethesda Game Studios
Focus on taking down each clone until you clear them all. This is where the items you’ve looted from the ecliptics on the way come in handy.
7. Continue the search for the artifact
Image credit:Rock Paper Shotgun/Bethesda Game Studios

Follow the blue locator further into the facility ensuring that you pick up the important loot scattered around the area. Head through the tunnel onto a construction site.
8. Defeat Guardian Athaliah
Image credit:Rock Paper Shotgun/Bethesda Game Studios
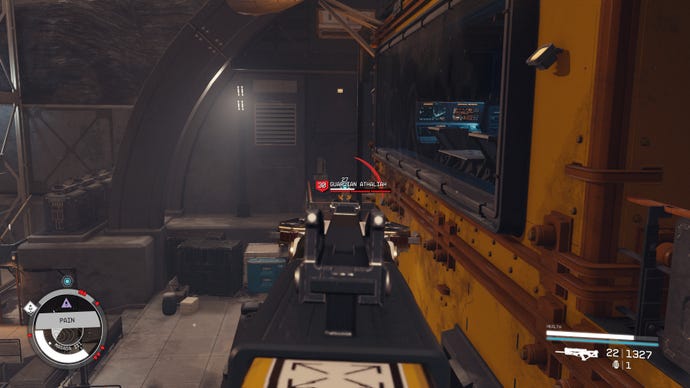
As you reach the site, ecliptic mercenaries will begin to revive from the floor and attack. This is the special ability of the Starborn in this area you will also need to defeat,Guardian Athaliah.
9. Find a way to open the door
Image credit:Rock Paper Shotgun/Bethesda Game Studios
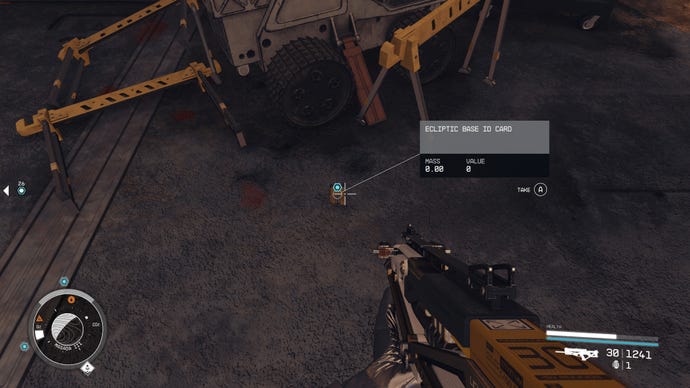
Guardian Athaliah will drop aecliptic base ID cardwhen defeated, pick it up and use it on the secure access door.
Image credit:Rock Paper Shotgun/Bethesda Game Studios
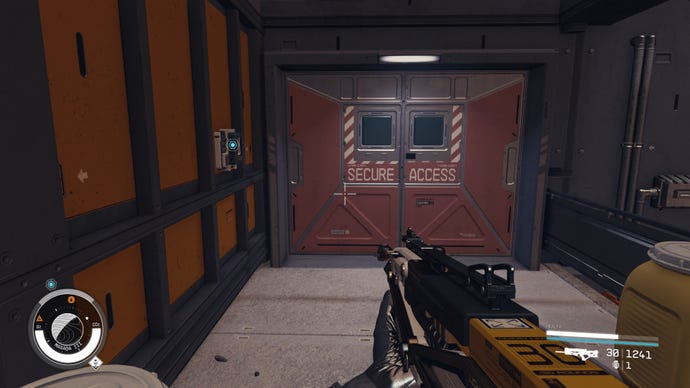
Head to the door and use the ID card on the left of the door to enter.
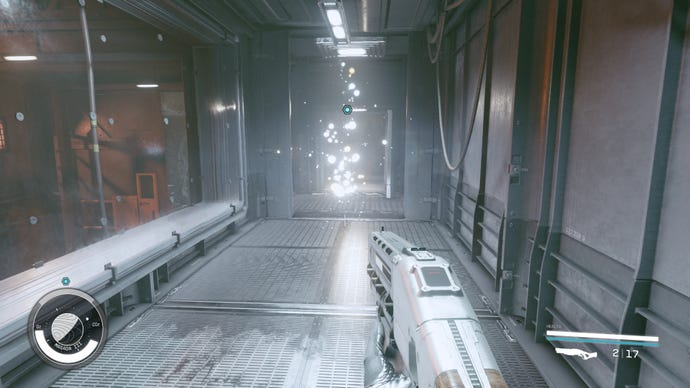
10. Enter and leave the anomaly
Image credit:Rock Paper Shotgun/Bethesda Game Studios
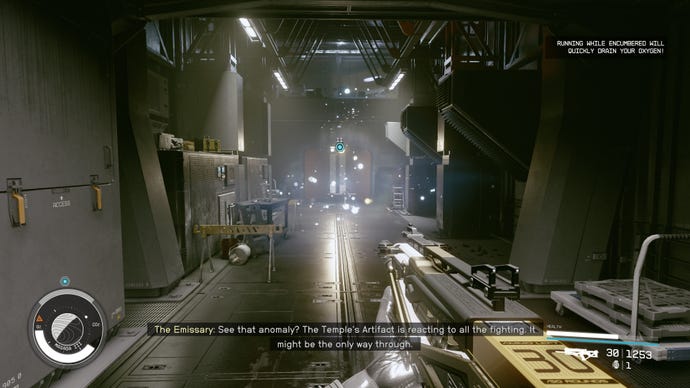
Follow the blue locator until you come across ananomalythat you must enter.
Image credit:Rock Paper Shotgun/Bethesda Game Studios
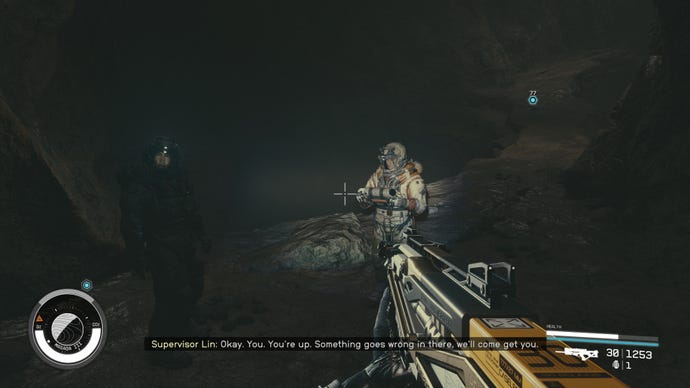
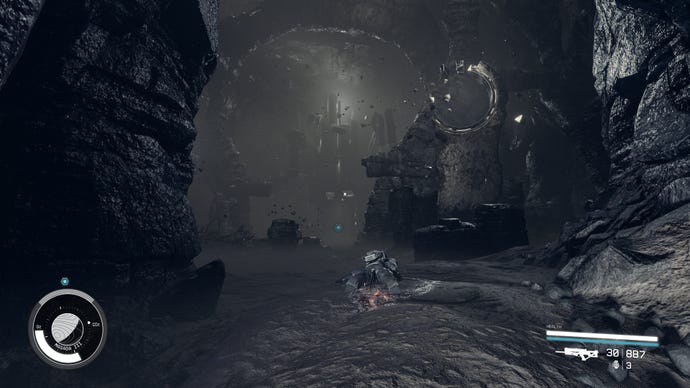
The anomaly will take you to a version of the first ever mission you completed inStarfieldand you will hear the dialogue betweenSupervisor Lin and Heller.
Image credit:Rock Paper Shotgun/Bethesda Game Studios
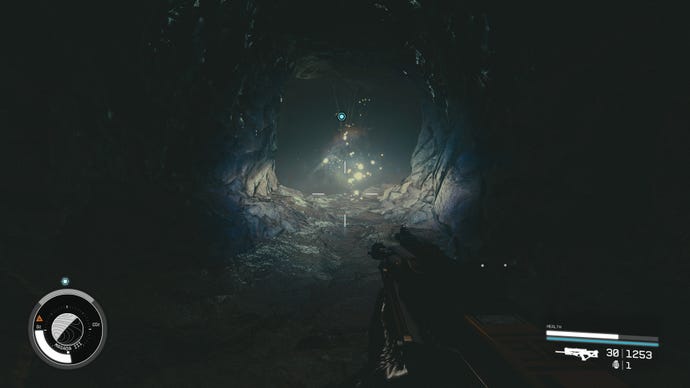
Follow through the cave system like before, but instead of retrieving an artifact you will be met with another anomaly which you can enter to leave the scene.
11. Defeat Guardian Teutra and Rinn
Image credit:Rock Paper Shotgun/Bethesda Game Studios
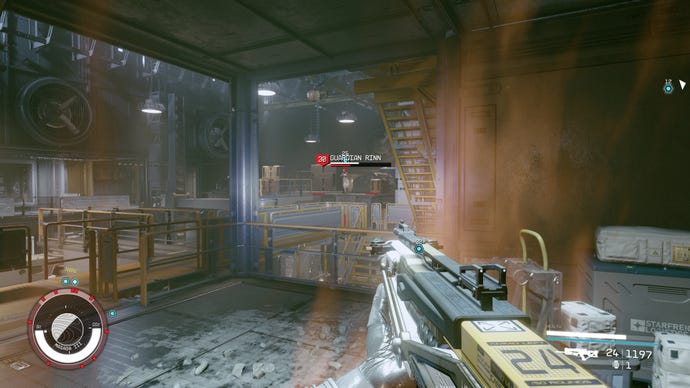
As you leave the anomaly, you will approach a large room full of Starborn, combat robots, turrets, and theGuardian Teutra and Guardian Rinn.This step leads into the next optional step, which may make the fight easier.
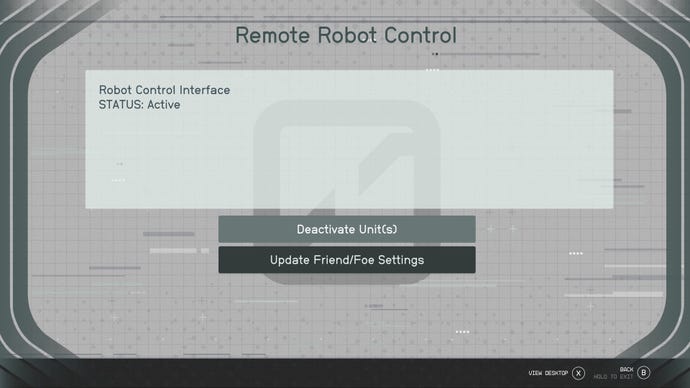
12. (Optional) Disable the defenses
To take out the robots and turrets, there is an optional objective of disabling the defenses. You will needExpert Lockpickingin order to access the room though. If you have this skill, run to the control room at the back and lockpick the door to interact with the computer.
Image credit:Rock Paper Shotgun/Bethesda Game Studios
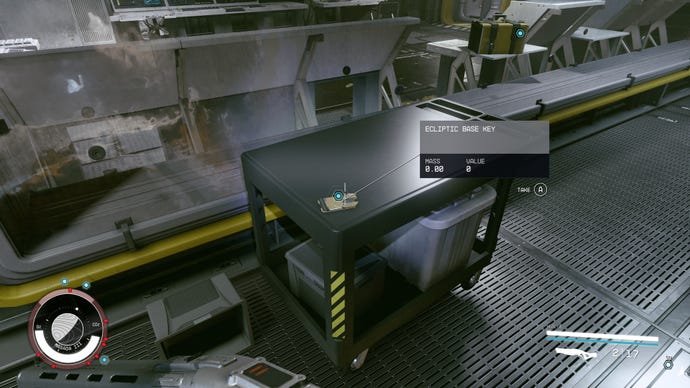
If you focus on defeating Guardian Teutra first as they appear to do the most damage then Guardian Rinn, they will drop an access key that will let you into that room without needing to lockpick.
Image credit:Rock Paper Shotgun/Bethesda Game Studios
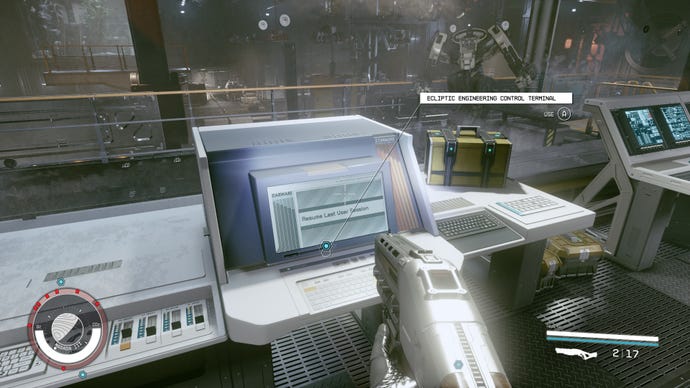
Image credit:Rock Paper Shotgun/Bethesda Game Studios
13. Find a way to open the door
Your key will also open the locked yellow door to exit the room and move onwards toward the next anomaly.
14. Enter the anomaly
Image credit:Rock Paper Shotgun/Bethesda Game Studios
Follow the blue locator until you reach thesecond anomaly,which you should enter. Be sure to investigate all these areas along the way between fights though to retrieve as much loot as possible.
15. Find a way out of the anomaly
Image credit:Rock Paper Shotgun/Bethesda Game Studios
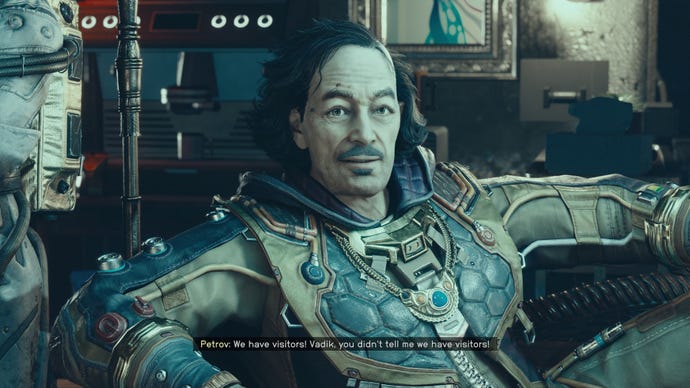
In this anomaly, you will find yourself back on the Scow face-to-face withCaptain Petrov.You’ll need to fight him and much likeNo Sudden Movesmission, if you inflict enough damage to Captain Petrov and take him out, you can retrieve a key to exit the anomaly without having to fight the rest of his crew.
16. Enter another anomaly
Image credit:Rock Paper Shotgun/Bethesda Game Studios
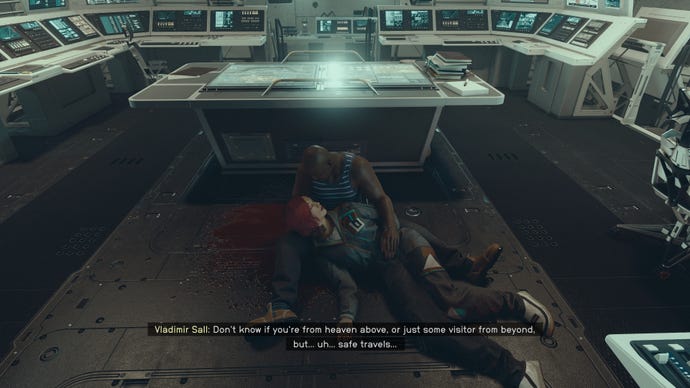
Leaving the anomaly will take you into another anomaly, aboard the Eye this time withVladimir.You’ll come across an alternate reality of theHigh Price to Paymission where instead of losing your closest companion, you’ll see your own body lying in Vladimir’s arms.
You can either talk to Vladimir or attack him. Killing him means you can acquire his outfit.
17. Leave the anomaly
Image credit:Rock Paper Shotgun/Bethesda Game Studios
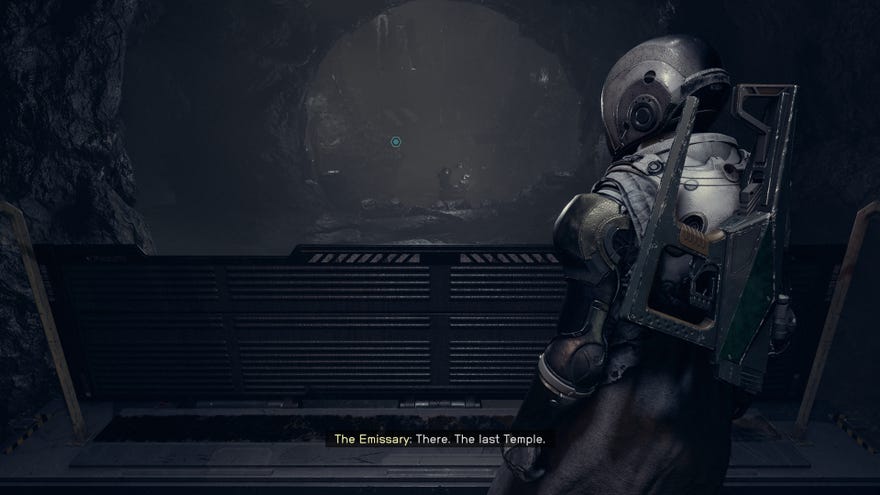
Follow the blue locator to enter a lift and descend into the last temple, a large dark cave full of, you guessed it,more Starborn.
18. Defeat Guardian Fionn
Image credit:Rock Paper Shotgun/Bethesda Game Studios
Be sure to gather more loot before entering into the next battle.
Image credit:Rock Paper Shotgun/Bethesda Game Studios
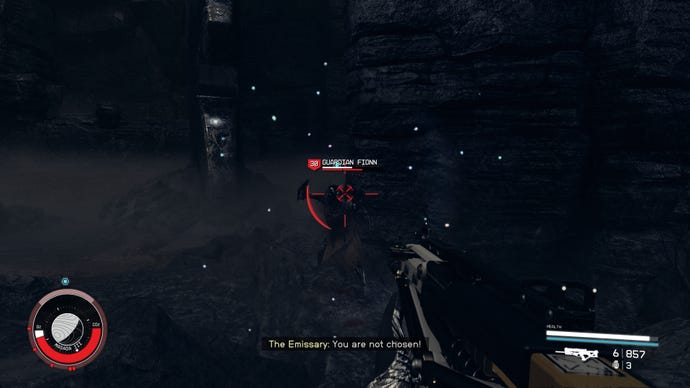
After you have successfully defeated Guardian Fionn, a door, much like the others that lead to the temples, will appear for you to enter the Buried Temple.
19. Talk to the Emissary or the Hunter
Image credit:Rock Paper Shotgun/Bethesda Game Studios
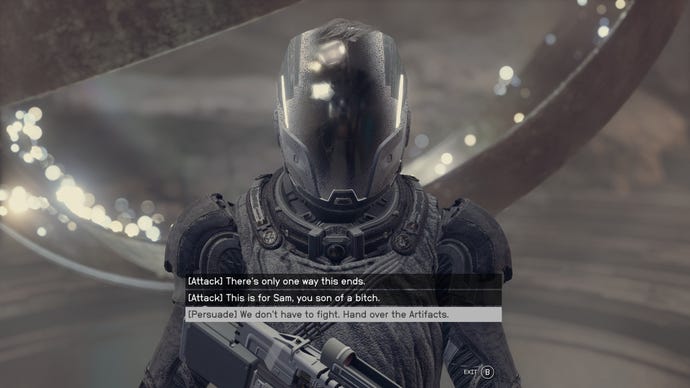
Here, you will come face-to-face with the Hunter or the Emissary, whomever you are against.You will have two options:
The same fight will also start immediately if you opt to attack without trying to persuade them to give you the artifacts.
20. Take the artifacts
Image credit:Rock Paper Shotgun/Bethesda Game Studios
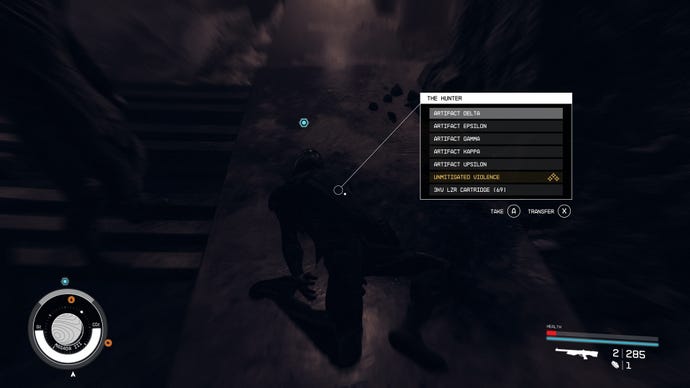
Successfully defeating the Hunter or the Emissary will mean you can retrieve their artifacts off their body.
Image credit:Rock Paper Shotgun/Bethesda Game Studios
You will also be voluntarily handed the artifacts of your chosen ally standing next to the defeated body on the floor.
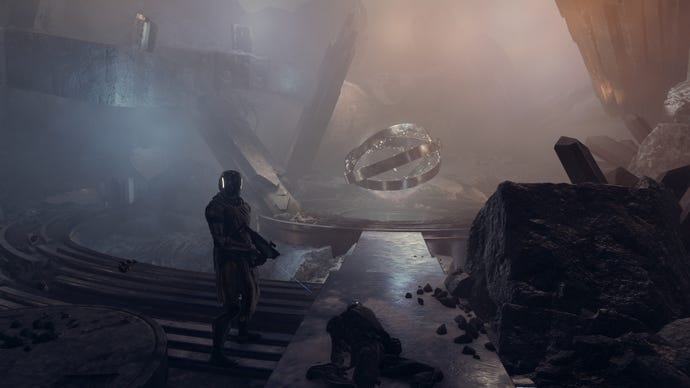
Image credit:Rock Paper Shotgun/Bethesda Game Studios
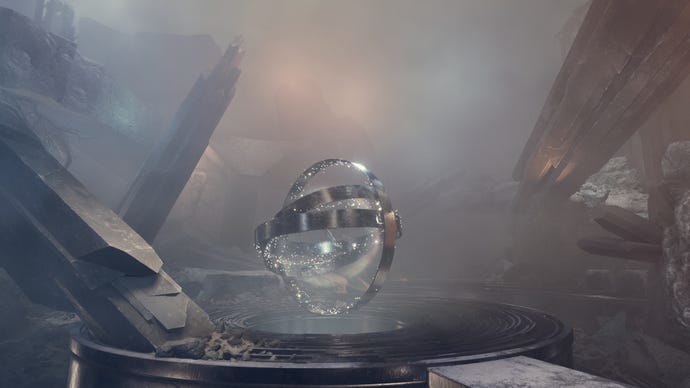
Head over to the last artifact in the middle of the rings. At this point, you can finally takeartifact Muand be transported back to your ship.
That’s it, you’ve completed the Revelation mission. With all the artifacts in your possession, it’s time to head to Unity in Starfield’s final mission, One Giant Leap. You may want to tie up some loose ends like checking you’ve completed all themissions and queststhat you’d like to, ensured you’re satisfied with thebest weaponsand dealt out all yourskill pointsfor optimum character building.
