HomeHardwareGuides
How to upgrade to Windows 11Oh, for 11’s sake
Oh, for 11’s sake
Alright, fine, here’s how to upgrade toWindows 11from Windows 10. The current stance of this hardware ed is thatWindows 11 has some cool features but is yet to fulfil its potential, largely owing to the missingDirectStoragecapability – which, to be fair, could be a very big deal when games start supporting it. For now, then, it’s a free but absolutely not an essential upgrade, and you can think of this post as the RPS equivalent ofthat video where Valve tore down a Steam Deck: we’re not saying you should do this, just that you can do this.
Year In Review | Mystery Steam Reviews (2021 Video Games)Watch on YouTube
Year In Review | Mystery Steam Reviews (2021 Video Games)

You won’t lose any of your files, games or drivers through this method either, and if you don’t get on with Windows 11, you can switch back fairly easily too – see our guide onhow to uninstall Windows 11for instructions.
How to upgrade to Windows 11 from Windows 10
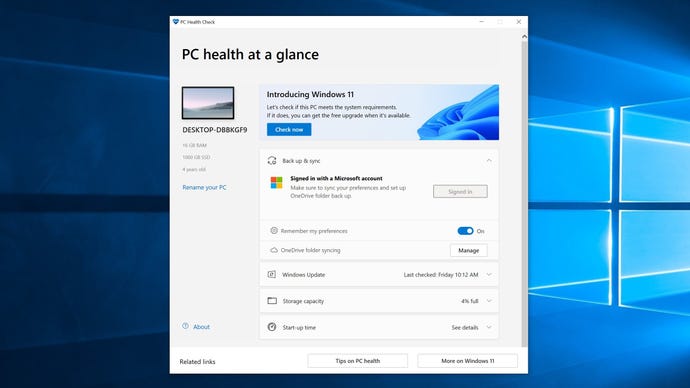
Step 1:Use Microsoft’s PC Heath Check app (the download link is at the bottom ofthis page) to make sure your PC meets thesystem requirementsfor Windows 11. If your CPU supports TPM 2.0 but the app says it doesn’t, you probably need to manuallyenable it in the BIOS.
The Windows 11 requirements are harsh, but sneaking around them carries risks.
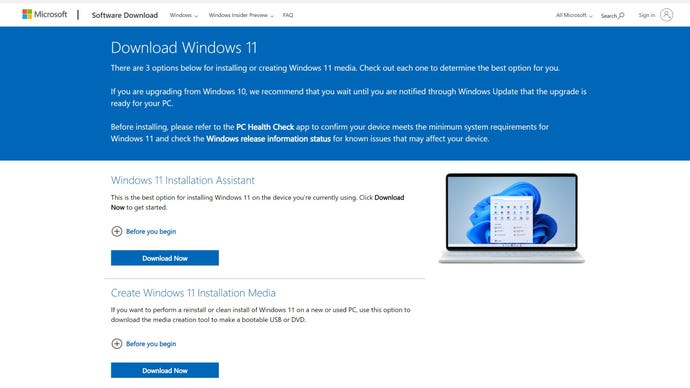
Creating installation media isn’t necessary when upgrading from Windows 10.
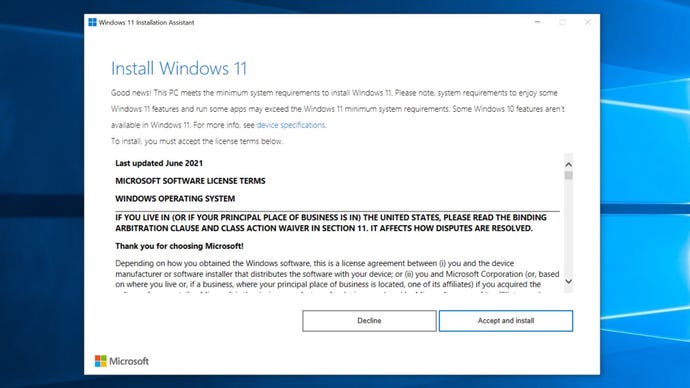
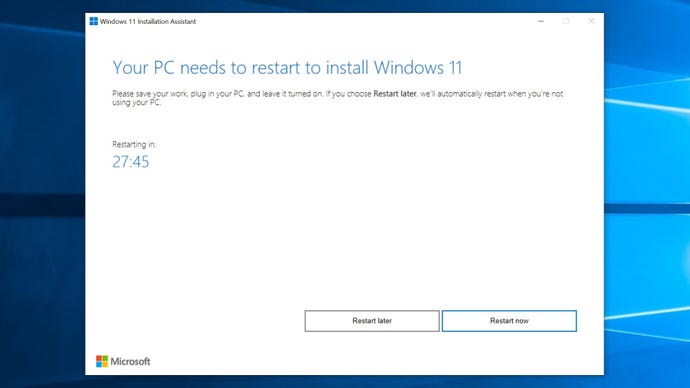
Step 3:Read the user agreement and click Accept and Install. Thus begins a lengthy download and installation process; you can still use your PC normally, but at 100% you’ll need to restart, either manually or after a 30-minute timer runs down.
The Installation Assistant simplifies the process.
Step 4:To get things underway immediately, click Restart Now. Your PC may take a few seconds to actually restart, so don’t worry if nothing appears to happen immediately.
The Installation Assistant will then set about getting Windows 11 ready, during which your PC will restart a couple of times. This part shouldn’t take as long as the previous download and installation, so soon you’ll be back on your login screen – now with a Windows 11 flavour.
The countdown should provide ample time to finish a game session or save any documents you’re working on.
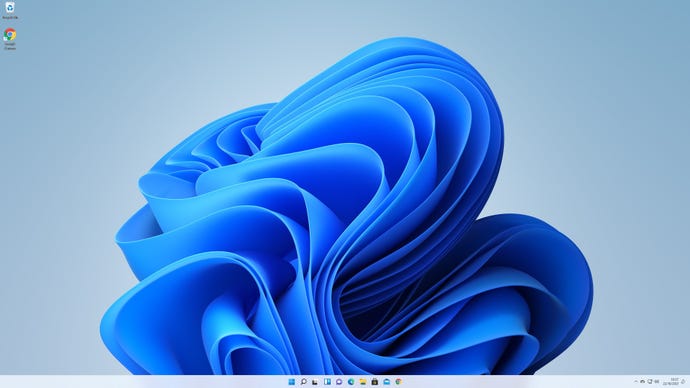
Step 5:Log in as you normally would on Windows 10. There’s one more installation screen to sit through, but afterwards you’ll land on the Windows 11 desktop, ready to go.
Any login credentials you used for Windows 10 should work in Windows 11.
The big advantage of this direct upgrade method, as opposed to creating Windows 11 installation media and performing a completely clean install, is that all your games and files will be right where you left them. It’s still worth familiarising yourself with the new UI, including the symbol buttons that replace key options in Explorer’s context menus. They’re the bits that keep tripping me up, anyway.
