HomeHardwareFeaturesGhostWire: Tokyo
Ghostwire: Tokyo system requirements, PC performance and the best settings to useThe one and oni
The one and oni

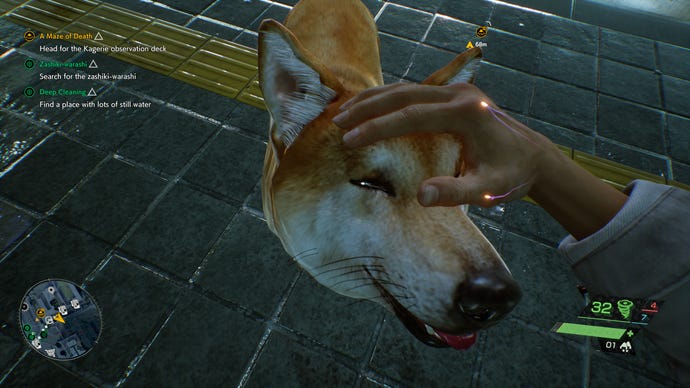
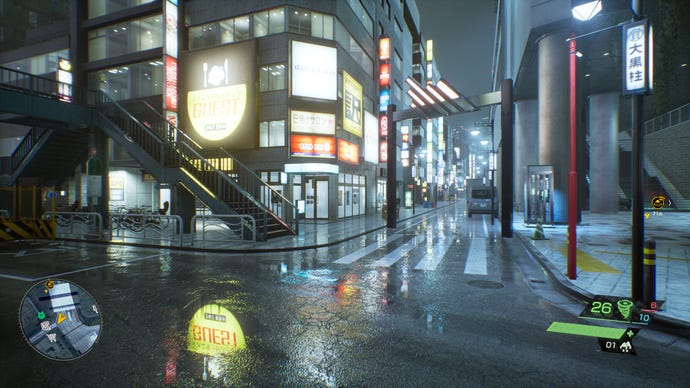
I’ve been having a grand old time inGhostwire: Tokyo, rescuing lost spirits and finger-gunning umbrella men. As Matthew’sreviewnotes, there’s a lot of busywork, but Tango Gamework’s rain-slicked rendition of the Japanese capital is quite the place to explore. And to gawp at, even if you don’t have the hardware for its fanciest ray tracing capabilities.
Indeed, despite some spooky-lookingsystem requirements, Ghostwire: Tokyo can run well on older or lower-spec builds, just as surely as it gets the most out of the verybest graphics cards. Within these paragraphs we’ll take a close inspection of how it handles different hardware and display resolutions, as well as which are the best settings to change for optimal PC performance.
A Walk In The Rain In Ghostwire: TokyoWatch on YouTube
A Walk In The Rain In Ghostwire: Tokyo

Well, I say that – as good as Ghostwire: Tokyo is at providing other PC perks, like an uncapped framerate option and bothNvidia DLSSand AMD FidelityFX Super Resolution (FSR) upscaling, several of its graphics settings don’t seem to affect performance much. Getting the best balance of speed, sharpness and shininess is more about how you deploy a smaller number of high-impact settings, including ray tracing and upscaling.

Ghostwire: Tokyo system requirements and PC performance
Before we get into all that, you can relax about one thing: Ghostwire’s official PC specs are what you might call overly pessimistic. For instance, here are two lowest sets, Minimum and Recommended: the former is apparently specced for 30fps at 720p, the latter for 30fps at 1080p.
Ghostwire: Tokyo Minimum system requirements
Ghostwire: Tokyo Recommended system requirements
Higher resolutions don’t demand the latest and greatest components either, at least without ray tracing. At 1440p, the GTX 1080 could still average a smooth 70fps with maximum settings – that, or roughly equivalent cards like the RTX 2060 or Radeon RX 5700, should stay above 60fps even with less powerful CPUs backing them up. And that’s not even taking upscaling into account; Nvidia’s older and non-RTX GPUs won’t support DLSS, but there are other options. Besides FSR, Ghostwire: Tokyo also another simple upscaler, Unreal Engine’s Temporal Super Resolution (TSR), which looks a little better than FSR though doesn’t boost performance as much. I’ve included it in the test results below.

Speaking of upscaling, it’s almost a necessity when ray tracing is in play. These reflection and shadow effects look tremendous, though in fairness to the downbeat system specs, running them smoothly does require some premium hardware. At 1440p and without upscaling, my RTX 3070 was averaging 48fps when all the possible RT effects were enabled – that’s down from 120fps when they were switched off, all other settings being equal. Fortunately, Nvidia GPUs that can enable ray tracing can also access DLSS, which can take the RTX 3070 back over that important 60fps threshold.
For the ultimate, 4K/60fps/maximum ray tracing experience, I did have to break out the RTX 3090, and even then it only stayed above 60fps with DLSS on its Balanced setting. But that still looks as good as native 4K, and DLSS kept the RTX 3070 in a playable 30fps-plus state with the same resolution and settings. Any semi-recent, higher-end card should suffice for 4K if you can live without ray tracing, too.
As for hiccups, it’s noElden Ringbut I did get the very occasional stutter in Ghostwire: Tokyo. Enemy spawns and some of the flashier attacks can both be triggers, and sometimes the FPS would drop at random while moving around the open world. I do hope these get smoothed out with updates, though they also didn’t occur often enough to seriously annoy.
Ghostwire: Tokyo best settings guide
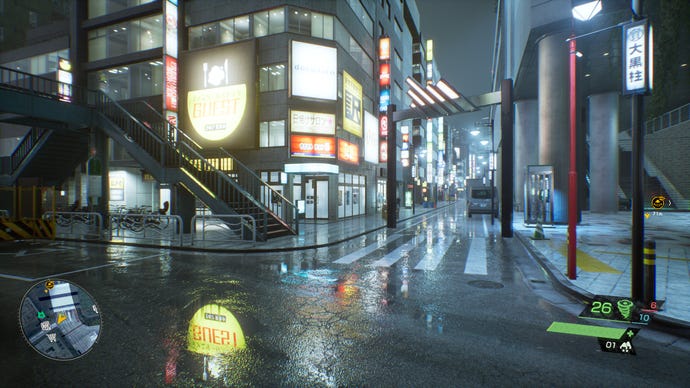
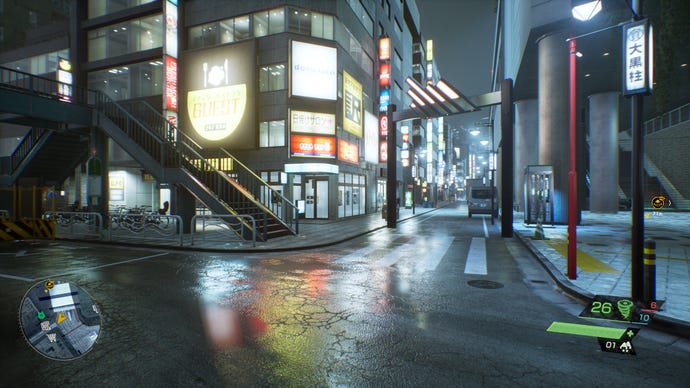
Despite the major FPS drain, if you’ve got the hardware then these ray tracing effects are worth flicking on. The lights, signs and billboards bouncing off Tokyo’s soaked streets are central to the game’s overall aesthetic, and while the standard screen space reflections also look really nice, they can be prone to inaccuracies. And it’s not just the roads – ray traced reflections and shadows spruce up level geometry and interiors as well. Your choice of upscaler will reclaim some of the lost performance, too.
Native 2560x1440, High/Cinematic settings, maximum ray tracing

Native 2560x1440, High/Cinematic settings, no ray tracing
Native 2560x1440, Medium settings, no ray tracing
Native 2560x1440, Low settings, no ray tracing

Native 2560x1440, Lowest settings, no ray tracing
Still, ray tracing won’t be available to everyone on PC, so I’ve split this guide in two. The first half focuses on the standard settings, with the second dedicated to ray tracing configuration. My control test for both was the RTX 3070, running maxed-out settings at native 1440p; this produced an average of 120fps in my repeatable benchmark.
Motion Blur Quality:This has several levels to pick from, up to the swooshiest “Cinematic” setting, but my advice is to turn this off entirely. Doing do gave me an extra 5fps, or a 4% boost to performance.
Shadow Map Quality:Shadow resolution, basically, with a higher setting producing less jagged-edged shadows. You may as well leave it on High too, as dropping to Low only gave me an extra 2% performance.
DLSS:The first of the three upscalers, and the best, though as usual it’s limited to GeForce RTX cards. Both its Quality and Balanced settings look close enough to native resolution, and pushed performance up to 140fps and 143fps respectively. Balanced produces much greater gains with ray tracing on (see below), but if you’re going without these effects, you can stick with the highest Quality setting.
FSR:The highest setting for AMD’s upscaler, Ultra Quality, can’t match DLSS’s Quality for either sharpness or performance (though it came close on the latter, averaging 139fps).
TSR:As a simple upscaler without DLSS’ AI smarts, TSR is closer to FSR than Nvidia’s gold standard. Even so, its highest Ultra Quality setting looks a bit better than Ultra Quality FSR: fine details are a tiny bit sharper, and there’s less of an overly processed, filtered look. The drawback is a smaller performance boost, reaching 129fps, though a 10fps difference isn’t as visible at this range than it would be below 60fps or even 100fps. If you don’t have access to DLSS, try TSR first before resorting to FSR.

Ghostwire Tokyo: ray tracing settings
Running absolutely everything – ray tracing effects and all – maxed-out on the RTX 3070/1440p setup produced a 48fps average. Now it’s time to look at the three individual RT settings to see which can bump that up a bit, as well as which upscalers are most effective with the added burden.
Ray-Traced Shadow Quality:Changing this isn’t as impactful as you might expect, given shadows are basically everywhere. Dropping from High to Low increased the average frame rate to 50fps, a meagre 2% rise.
Ray-Traced Reflection Quality:This is more like it, with the Low setting granting a big boost up to 66fps. That’s a juicy 15% improvement, and the actual quality drop-off from High is very minor.
DLSS:On the RTX 3070, DLSS’s Quality setting opened up a big lead on FSR and TSR’s equivalents with an 77fps average. The Balanced setting, however, went all the way to 90fps – nearly doubling the frame rate without upscaling. Balanced still looks more or less like native res here, so go for it over Quality when ray tracing is enabled.
FSR:Again, FSR’s Ultra Quality setting loses out with a 66fps average, and its lower, faster settings don’t look quite enough like native resolution for my liking.
TSR:With a 62fps result, TSR is once more the slowest of the three, though again I’d choose it over FSR for its sharper edges and finer detailing on Ultra Quality.
To conclude! Whether or not you’re using ray tracing, a lot of Ghostwire: Tokyo’s standard graphics setting don’t offer serious gains when lowering them. And since it runs fine on older graphics cards, there are a few – especially Shadow Map Quality and Texture Streaming Quality – that you can leave cranked up. For a more optimised configuration, though, consider these settings:
If you’re still struggling, try setting both SSS Quality and SSR Quality to Off as well. Just be prepared for a much more marked drop in visual fidelity.
As for those with ray tracing hardware:
