HomeGuidesStar Wars: Squadrons
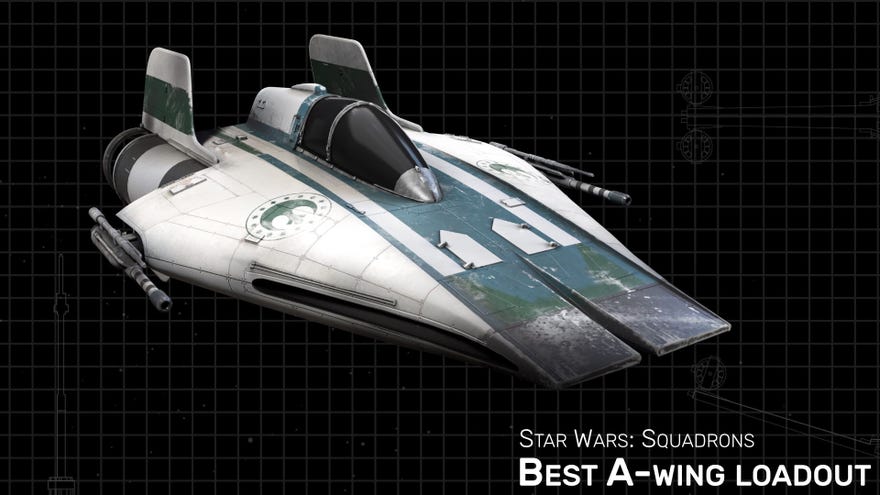
Best A-wing loadout in Star Wars: SquadronsNo one can follow you with this A-wing loadout
No one can follow you with this A-wing loadout
The nimble A-wing is one of the Republic’s deadliest ships inStar Wars: Squadrons, thanks to its agility and damage potential. Most Republic players I’ve come across tend to use A-wings in both Dogfight and Fleet Battles, but I rarely see anyone doing itright. Below I’ll walk you through my best A-wing loadout for Squadrons, along with an explanation of how to play it and why exactly it works so well against pretty much any enemy in the Empire’s fleet.
In this A-wing loadout guide:
Watch on YouTube
Watch on YouTube

Best A-wing loadout in Star Wars: Squadrons
Here is the best A-wing loadout:
Our auxiliaries are for utility, rather than supplementing our damage. You can substitute them for missiles if you like, but I find the Laser Cannon to be good enough. OurRepair Kitis there for replenishing our hull (if they ever break through your shields - more on that later), while theTargeting Jammeris a godsend for losing enemies on your tail. This Jammer does more than it says: it completely disables the enemy’s ability to auto-aim (in the sense that all weapons have a slight auto-aim feature which activates whenever your crosshairs turn red), allowing you to slip away with ease and start regenerating shields. It’s also the best counter I’ve found to the emerging meta of guided Rotary Cannons on Bombers.
Everything else is fairly self-explanatory. The Seeker Warheads are the best countermeasures available on any ship, and will keep you alive in the face of missile attacks. The Sublight Engine is the standard A-wing engine, and it’s more than good enough for this loadout - I feel no need to add any downsides in this area of the build. And finally, the A-wing’s Dampener Hull trades a tiny bit of hull integrity (which doesn’t matter that much as we’re focusing on shields) in order to make the ship much harder to lock onto with missile attacks. All in all, this adds up to a fairly straightforward but startlingly tanky and slippery A-wing capable of taking down any Empire ship.
For full details on this build, check out theSquadrons Toolkit Loadout Builderwhere I’ve recreated the loadout exactly.

How to use our A-wing loadout
Your priority with this A-wing loadout is to stay on top of power management. The Nimble Deflector shields allow you to spend a very short amount of time regenerating and overcharging your shields, allowing you to focus more on boost charge and weapon strength. Switch to weapon charge as you begin to fire. When you disengage, switch to shields briefly to top up anything that was lost, then back to engines to keep your boost ready in case you need to disappear.
That’s everything you need to know on the best A-wing loadout I’ve come across in Star Wars: Squadrons. But that’s not all we have to show you: check out ourBest Star Wars: Squadrons loadoutspage for top-tier builds for every single ship!
